
You might recall a post in mid-2018 where we announced we had served over 2 million headless sessions. At the time that was quite a milestone for browserless, given that we’re a self-bootstrapped company of one.
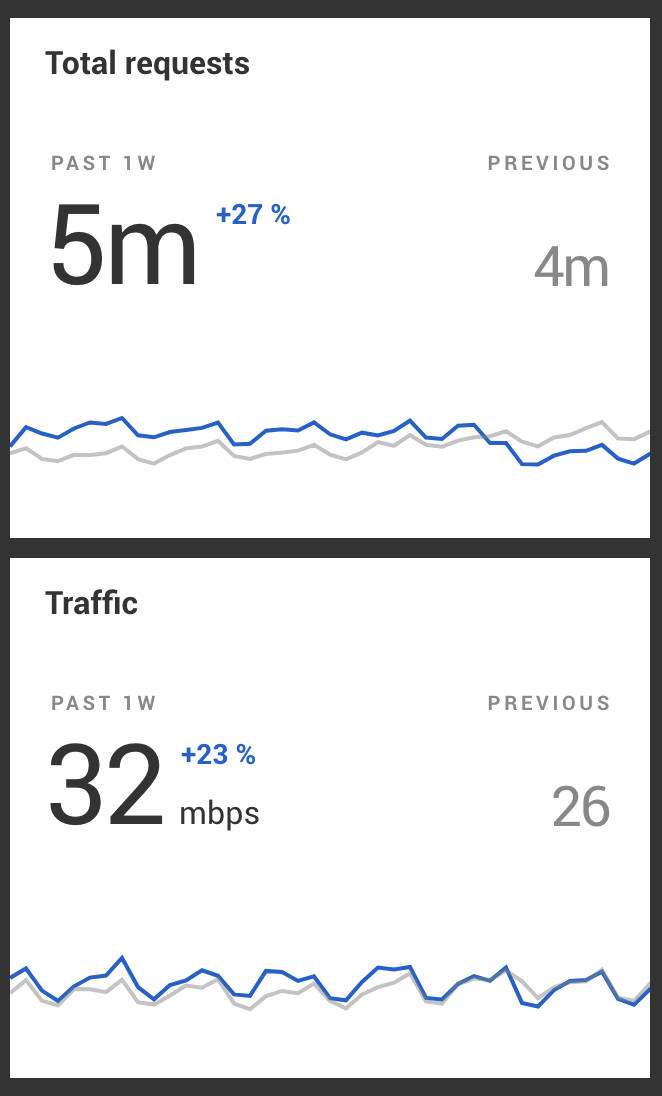
After that announcement, and it’s arrival on the front page of Hacker News, we experienced some pretty spectacular growth. Now, at the time of this writing, we currently run nearly 5 million headless sessions a week. Given all of this growth and time passed, it’s time once again for us to divulge what we’ve learned running a headless browser company at scale.
So sit back, grab your favorite beverage, and see how you can improve your headless browser scripts.
Tip #1: Scale horizontally and not vertically
When running headless chrome, especially with puppeteer, it’s really easy to scale horizontally. For those new, to this term, it essentially means scaling by running many nodes versus a few “beefier” instances. Puppeteer, and really all headless drivers aside from WebDriver, run over a protocol called the Chrome Devtools Protocol (also seen elsewhere as CDP). This protocol uses WebSockets as its primary means of communication, which as we stated earlier, means it’s easy to load-balance across a fleet of instances. Since WebSockets are stateful once connected, this means you don’t have to do anything special to ensure your sessions get routed to the right machine. We use nginx as a load-balancing technology, and here’s how you can achieve this style of load-balancing with the location directive:
The reason why scaling horizontally, rather than optimizing a few boxes, is that Chrome is really really good at using full system resources, and loves to use equal parts CPU and memory for most things. As an alternative, you can use a virtualization layer like docker to run and limit memory and CPU on a single machine. However, we’ve found that most cloud platform’s bigger boxes don’t necessarily add any costs benefits to running fewer larger boxes over lots of smaller ones. Since you also don’t want all your proverbial eggs in one basket, it just makes better sense to run lots of smaller nodes versus fewer larger ones.
Tip #2: When you’re done, kill it with fire
Regardless of where or how you’re running your headless sessions, it’s important to kill Chrome with the fire of thousand suns. You might be familiar with Chrome’s ability to spawn helper processes, and while this is a good thing overall, they can easily be “zombied” if they are somehow orphaned from the parent process. This can happen in docker, bare-metal, and even lambdas. Depending on how you’re running your headless work, you might not be able to fix this with something like Yelp’s dumb-init, so I recommend reaching for the excellent package tree-kill:
This is really important for lambdas and other cloud functions as a hanging process means that you’re paying for them to sit idle. This is only made worse by the fact that each browser gets a unique user-data-dir, a temporary folder holding session-related information. What this more generally means is that it’s possible for you to leak disk storage as well. So not only will you possibly use all CPU time, but potentially RAM and storage(!)
If you’re especially paranoid, you can specify a temporary folder for your sessions’ cache and remove it manually:
After a year of running our docker image in production, we’ve gotten this nailed down pretty well, so if docker is your primary distribution artifact you can save yourself some heartache by using it.
Tip #3: Reuse the browser if possible
Taking back a previous statement we made in our last post, we can now say that reusing a browser is a lot more performant than making a new one every time. Chrome, especially when compared to previous headless binaries, does a lot better job of staying reliable over a period of time. However depending on how taxed your machine is, creating a new browser can span several seconds (or a lot more) depending on where it’s executed. If you don’t mind re-using the browser and some potential memory consumption from it running longer, then, by all means, do so to avoid the painful startup cost.
The below snippet is a really simple demonstration, and there’s a lot of edge cases that will cause it to fail
You’ll note that we aren’t clearing caches, cookies, or any data directories in this example so please ensure that you’re careful in follow-up sessions if this is important!
Finally, if you use this convention then make sure that your consumers of getBrowser aren’t calling browser.close. Instead, you’ll want to use browser.disconnect, which simply disconnects the WebSocket without emitting the CDP command close:
There’s a lot of risks in doing this, so make sure it’s something that you don’t mind handling the complexity of. You’ll need to ensure browsers are running and available, pages get cleaned after the browser is disposed of, and that memory/CPU isn’t being held onto (which we didn’t handle here). With that handled you’ll get a lot faster startup times + the ability to make use of Chrome’s caching, which means faster sessions overall.
Tip #4: Be paranoid about security
When doing all of this you open yourself up to a lot of potential security vectors, which is why browserless uses the vm2 module, as well as docker, to contain workloads. The vm2 module, in short, allows for running untrusted code in a child process. It’s better than doing a straight-up eval, however, it does have a lot of similarities (you’ll have to load your module/code as a string into it).
The only issue we’ve found when working with vm2 is that it isn’t immune to while(1){} attacks, which can leave your machine with a pegged CPU. To get around this you’ll need to use yet another child process and use message-passing to communicate with it. With a timer running, if the child doesn’t respond in time we can kill it easily. Since this requires a bit of setup work, and some convention on how messages are handled, we’ll simply point you to the source here.
Finally, you’ll also want to make sure Chrome itself is reasonably up-to-date. You may have seen that a recent CVE appears in older versions (as seen here), and vulnerabilities like this are going to happen. If you’re currently doing manual builds of Chrome yourself, or are relying on others to do so, it might be time to consider the alternative of using the version of Chrome that comes with Puppeteer and something like greenkeeper to make sure your deployments are up-to-date.
Tip #5: There’s a lot of good tools besides screenshots
It’s worth repeating here: there are really good tools already available out there for debugging headless work. Even though you can simply run with headless: false most of the time, the truth is that running “headful” can cause Chrome to operate differently. For example, flash and certain WebGL scripts won’t work in headless, and in the case of flash, likely never will.
To get around this, follow these quick steps to open a remote debugger for your headless work:
- Launch with a
{ args: ['--remote-debugging-port=9221'] }in your launch args. - Once running, open your local install of chrome and navigate to
chrome://inspect. - Watch in the “Remote Target” for your page/script to start.
- Click on the inspect link, and enjoy.
With this, you’ll have access to the whole suite of Chrome’s DevTools! Now instead of console.log‘s and page.screenshot‘s throughout your code you’ll enjoy a much better debugging experience.
We’re also in the process of making this style of debugging available inside of browserless. We currently have a nifty web-based debugger located here, however, we’ve noticed many users would like to have this experience for more complicated apps that can’t run in our web-based debugger. Be sure to keep an eye out on our repo for when this feature lands.
Wrap up
With all of these best practices in mind we’ll be launching our usage-based service in the coming weeks. This service will incorporate all the best practices we’ve learned about over the past year and will mean no complicated setup or binaries to install/compile for you. If you’d like to talk more in-depth on puppeteer or need some help getting a project off the ground, be sure to give us an email.
In any case, we wish you the best in your headless efforts, and hope this information is helpful in your endeavors!