
Puppeteer is an amazing technology. It’s so robust, so complete, yet so flexible and easy to work with. And this flexibility and ease are not limited to the field of web scraping, as you can also automate plenty of stuff. Puppeteer’s robustness comes to the point that we’re even able to automate things that would normally be hardware-dependent, like camera and microphone in a WebRTC context. Let’s take a look at WebRTC video automation.

WebRTC video automation – The vanilla way
Let’s first take a look into how to spoof WebRTC capabilities using a good ol’ vanilla Puppeteer setup. The capacity to do that actually comes from Chromium, but it is very specific with the file type it allows. Concretely, it will only allow a correctly encoded .y4m file or a .mjpeg. For this blog post, we are going to use .mjpeg, as it’s a way lighter format. In any case, ffmpeg is the best option to convert your video.
Once we have our video ready and correctly encoded, we will write our regular Puppeteer code, with the exception that we’re going to pass the --use-fake-device-for-media-stream, --use-fake-ui-for-media-stream, and --use-file-for-fake-video-capture launch flags. To test that everything is working, let’s use Mozilla’s WebRTC demo.
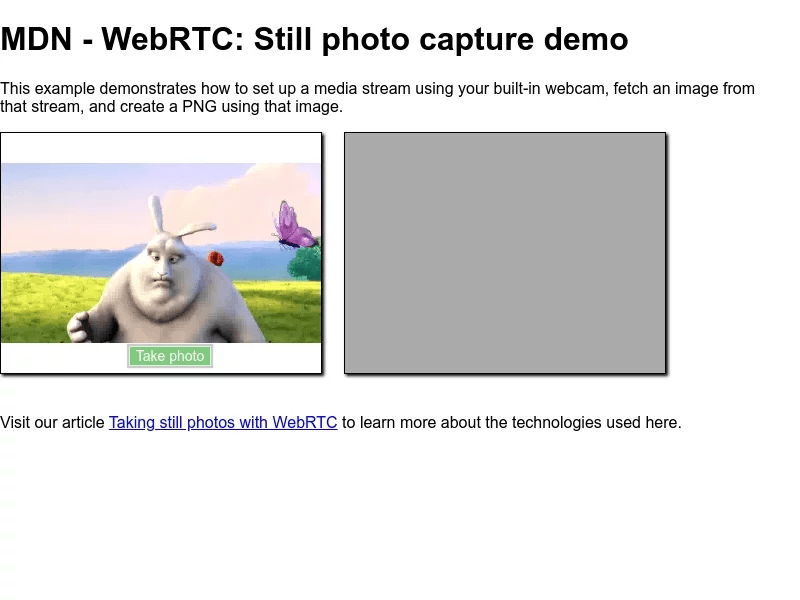
This should open a browser for you to see the replaced camera feed in all its glory:
.gif)
Loading on the Dock
As you can see, we need to have our video on disk so the browser can load it. If you’re using Browserless self-hosted, you will need to make sure to include it in the Docker image. Since our Dockerfile includes (almost) the entire project, it will suffice to add the video to the project. For this example, let’s include the video in ./media
And then a regular docker build call
To load the video in our Browserless calls, we have 2 options: we either run the docker image with the default flags or add the flags to our connection string. Each, of course, has its advantages and its downsides.
Running the image with default flags
You can easily pass default Chrome launch args to the Docker image. The downside of this is that, unless you override them in the connection string, Chrome is always going to be launched loading the video feed.
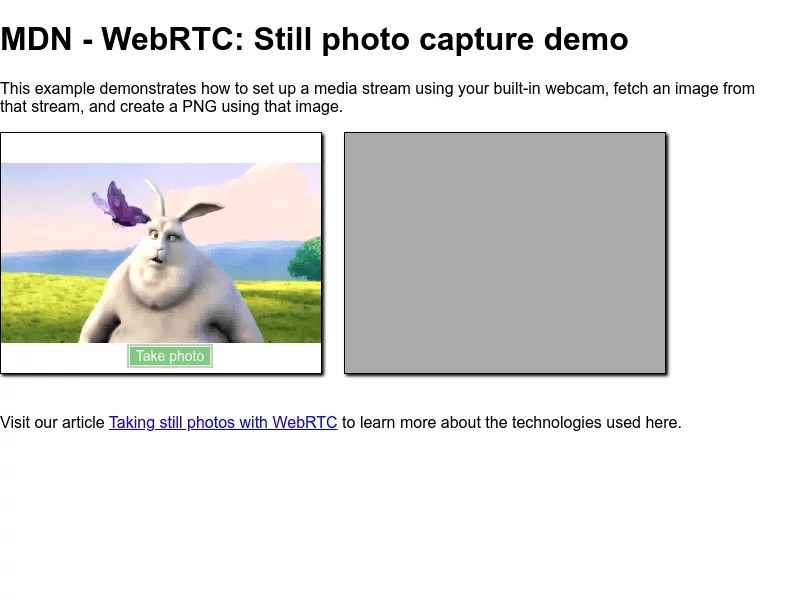
That /usr/src/app path corresponds with the app dir on the docker image, so if you change the app home on the Dockerfile, make sure to make the correspondent change. After that, we can start making connections and API calls. Let’s do a quick test with the /screenshot API:
And it should render a screenshot like this one:
Adding connection-specific flags
If for whatever reason you can’t add the default launch flags, you can always add them on your request. The main downside of this is that you end up with a very meaty connection URL, and you risk exposing the file name.
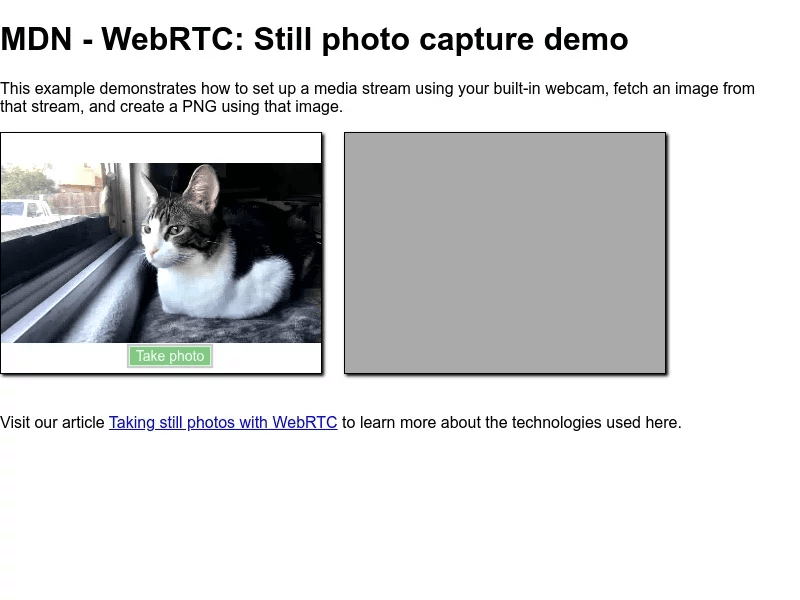
The resulting screenshot:
Dynamic WebRTC video feed
Start using Browserless web automation for FREE
You can take advantage of the /workspace API — which is also available on dedicated accounts — to upload your video feed while the Docker is up and running. For this, we need to upload a video to our workspace:
Once uploaded, we’re going to get a JSON back which contains a very useful “path” field. Now we can make our calls, making sure we’re passing the path the value we got from the upload:
This is going to give us something like this:
You’ll need to be careful with the files on /workspace though, since, by default, those get automatically deleted 7 days after being uploaded for dedicated accounts. If you are self-hosting, they get deleted after 30 days, but you can override this behavior using flags.
As you can see, setting a feed for WebRTC with Puppeteer and Browserless is pretty straightforward. If you have any cool implementations of this you may want to share, you can always join our Slack community.
If you like our content, you can check out how our clients use Browserless for different use cases:
- @IrishEnergyBot used web scraping to help create awareness around Green Energy
- Dropdeck automated slide deck exporting to PDF and generation of PNG thumbnails
- BigBlueButton, an open-source project, runs automated E2E tests with Browserless
Happy hacking!